Invoicing
When a job is completed, the employee who worked the job (or an administrator, if needed) will report the hours worked (also known as "billing the job"). When a job is billed, that detail will automatically populate on an invoice in PowerDetails! Invoices are generated based on Employer profile Invoice Groupings.
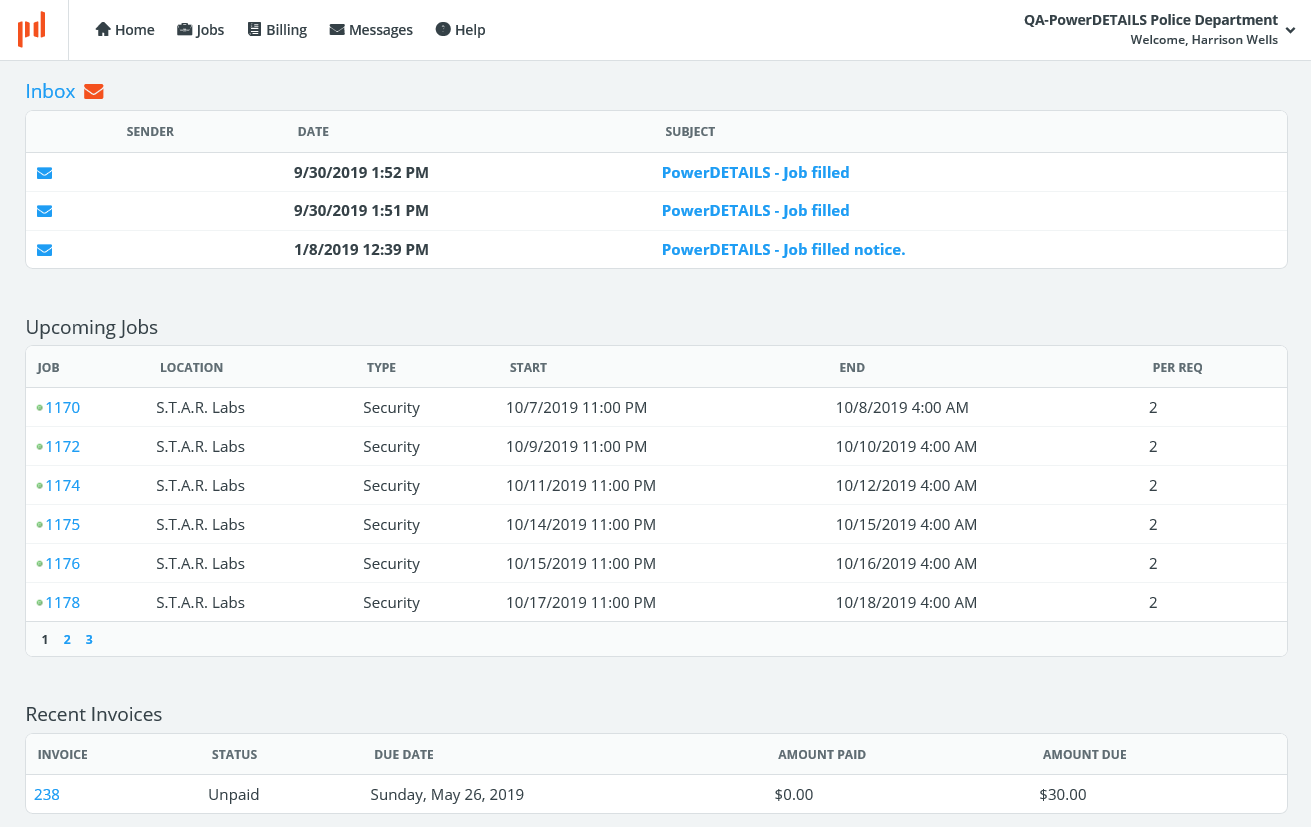
Employer users can view invoices that have been sent or marked as sent in the system. These can either be seen from the user's home page or under the Billing menu.
Employer User Home Page
Searching for and Managing Invoices
Administrators, Personnel Administrators (if given access), and Employer users can access invoices by hovering over Billing on the top menu bar and clicking Invoice Search. This will display a list of all generated invoices along with a search panel. To find a particular invoice, enter the search parameters on the left panel and click Search.
Administrator Invoice List View
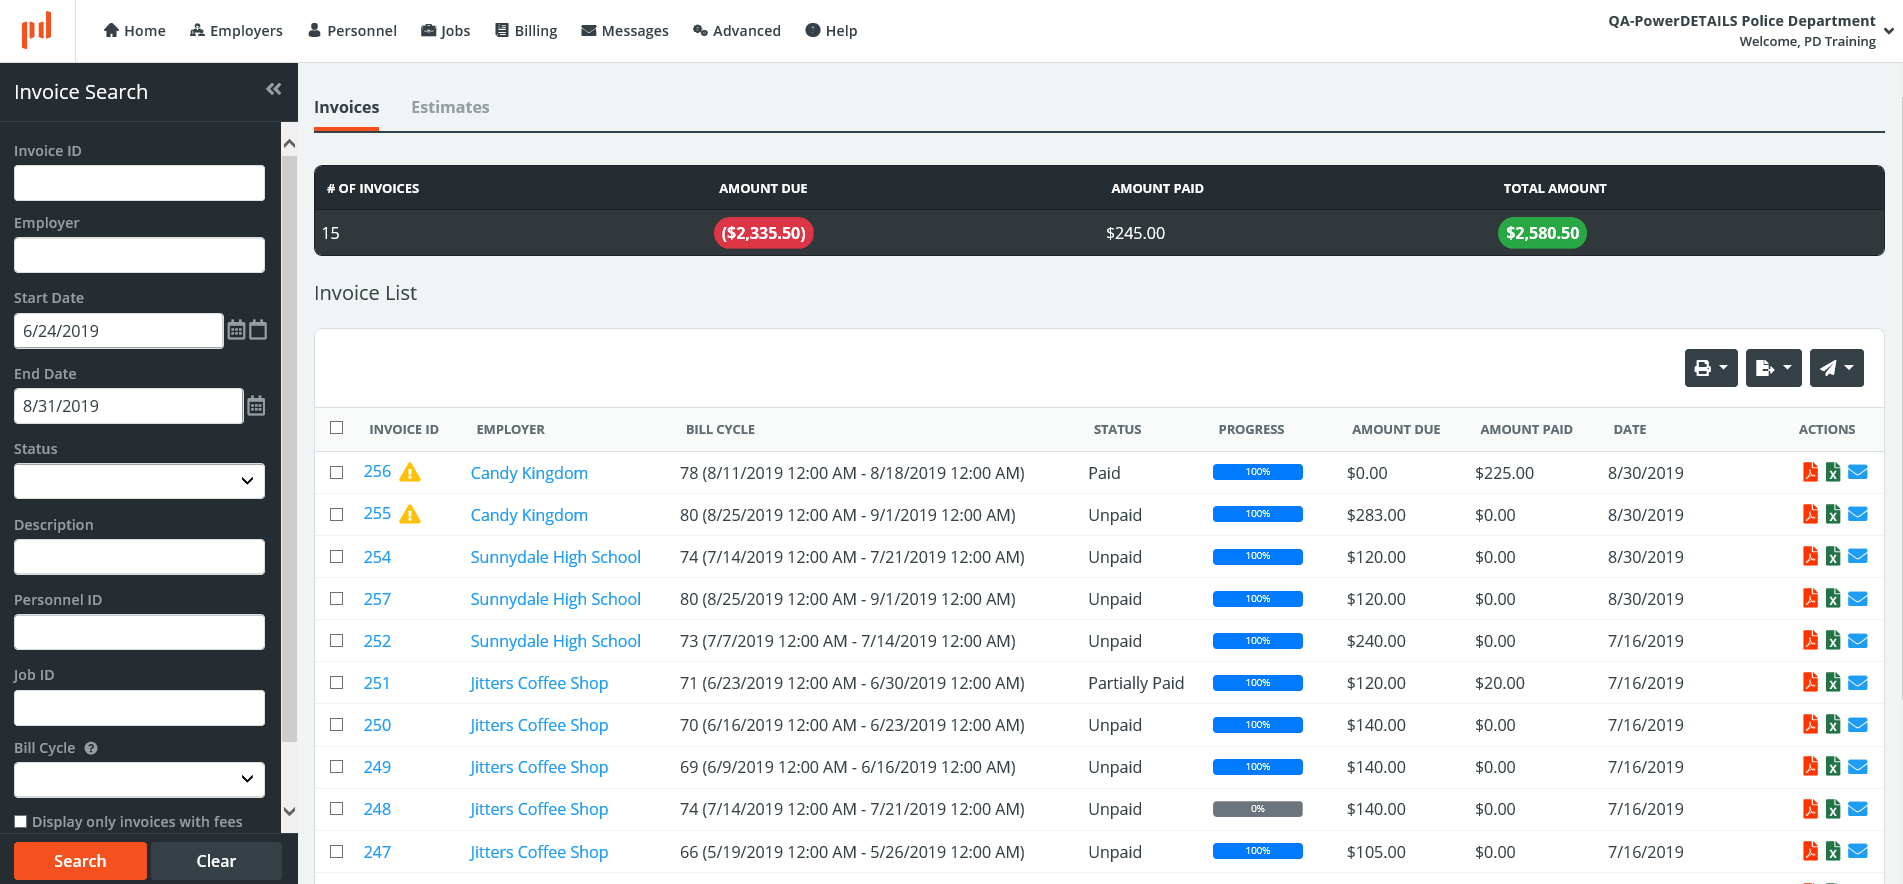
The box above the Invoice List provides totals based on your search criteria.

Below is an explanation of the various fields, columns, and icons on this page. Note that some may not be visible to particular user roles.
| Field/Icon | Description |
| Invoice ID | This gets automatically generated in numerical order as invoices are created. |
| Bill Cycle | Bill Cycles are defined in your Site Settings. Invoices are automatically attached to the corresponding bill cycle as indicated in your settings. |
| Status | When searching by "Unpaid" invoices, this will include "Partially Paid" invoices as well. "Void" invoices are created when all invoice details have been removed. |
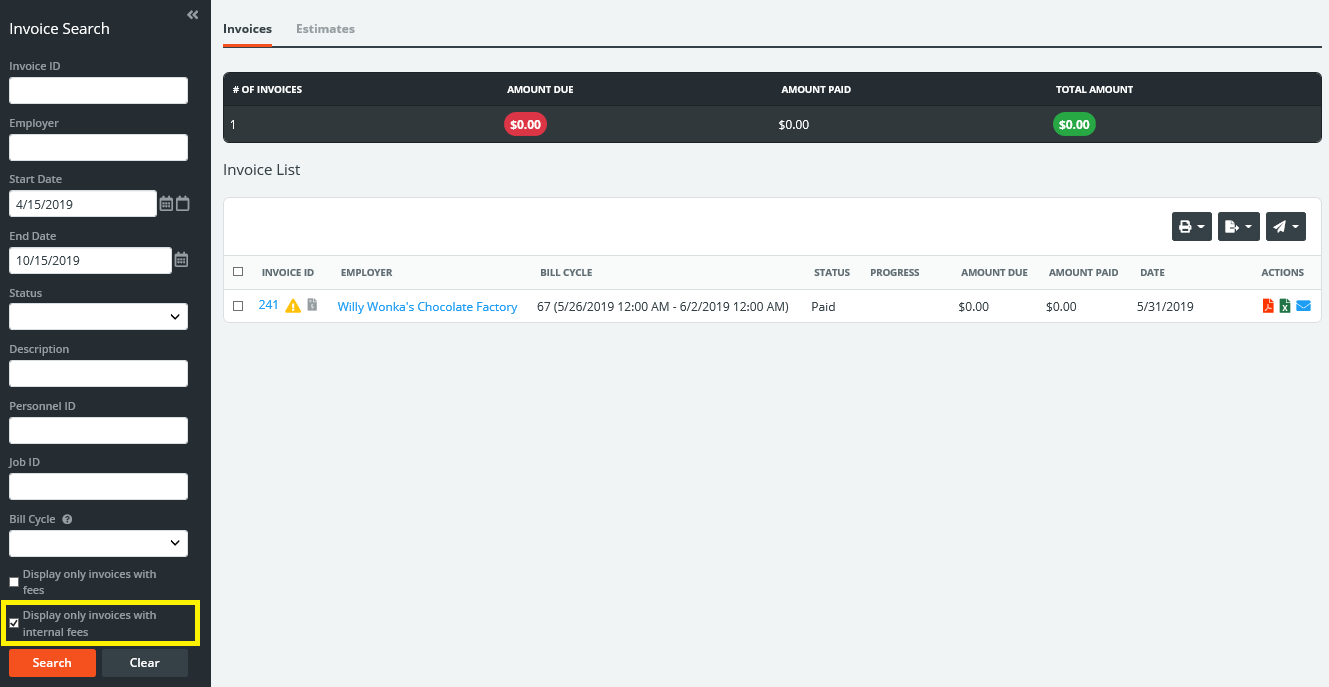
Display Only Invoices with Internal Fees |
Invoices displayed with this icon are considered to be "Internal Invoices". Checking the box to "Display Only Invoices with Internal Fees" will allow the user to manage these invoices containing fees built to "not print on invoices". Read more about Internal Invoices here. |
Warning icon |
If the Billing Approval feature is activated, you will this warning icon next to any invoice that contains details not yet approved by an Administrator. |
Progress Bar |
The percentage displayed here is calculated by looking at how many details have been reported and comparing them with what jobs/details will ultimately end up on the invoice per your bill cycle and invoice grouping settings for that employer. For example, if you have set up a monthly bill cycle, the employer's profile indicates the "group all" setting, and half of the jobs for the month have been worked and reported, the progress bar will display as 50% finished. |
| Date | References the Invoice Date on the invoice form. The Invoice Date is automatically set when an invoice detail gets created, but can be updated on the invoice form at any time. |
Export/Print to PDF |
Clicking any of these options will allow you to see a print preview of the single or selected invoices, or directly export the file to PDF. Using the grey icons on the top right will allow you to export/print outstanding or the selected invoices in the list. Exporting to PDF is recommended unless you plan to make custom modifications to your invoice. |
Export/Print to Excel |
Clicking any of these options will allow you to see a print preview of the single or selected invoices, or directly export as an Excel file. Using the grey icons on the top right will allow you to export/print outstanding or the selected invoices in the list. If you need to make any custom design modifications to your invoice, we recommend doing this in Excel. |
Send/Mark as Sent |
Clicking on these icons will allow you to send an invoice electronically if a billing email is specified in the employer profile. If nothing is indicated here or if you are sending the invoices externally, you can click this icon to instead mark the invoice as sent. |
Reviewing Invoice Details
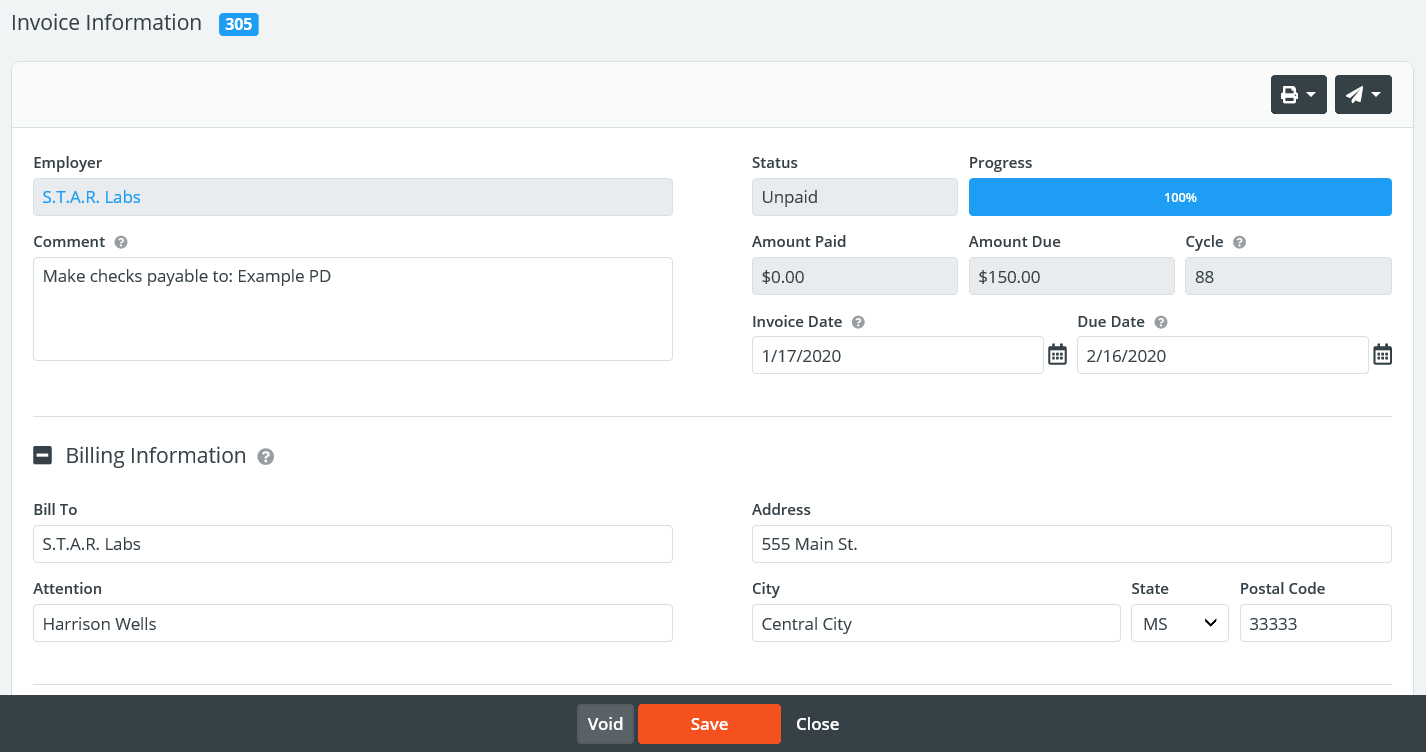
Clicking on an invoice ID will open the main invoice details form. This form will contain information automatically formatted per your site settings and employer profile settings, however, fields like Invoice Date, Due Date, Comment, and Billing Information can be modified by administrators or personnel administrators for the individual invoice.
Just as on the search page, invoices can be printed/exported from this review form on the top right. If an invoice has been sent or marked as sent, an envelope icon will appear alongside the invoice ID.
The invoice line items listed in the Invoice Details section will contain the information reported by personnel.
![]()
A yellow warning icon ![]() will also be displayed next to any details that are awaiting review
and approval by an administrator if the Billing Approval feature is activated. Line item formats can be adjusted via your site settings.
will also be displayed next to any details that are awaiting review
and approval by an administrator if the Billing Approval feature is activated. Line item formats can be adjusted via your site settings.
Quantities listed in red indicate that the minimum hours defined in your site settings are in effect. Hover over the number to view the actual reported hours. If the Billing Approval feature is activated, this can be used to override minimum hours when needed.
Adding Invoice Fees
To add an invoice-wide fee, click the button to Attach Fee above an invoice or estimate's details.

If a fee template already exists for invoice fees, this can be selected in the Fee drop down menu. Otherwise, you will be able to create a custom fee.
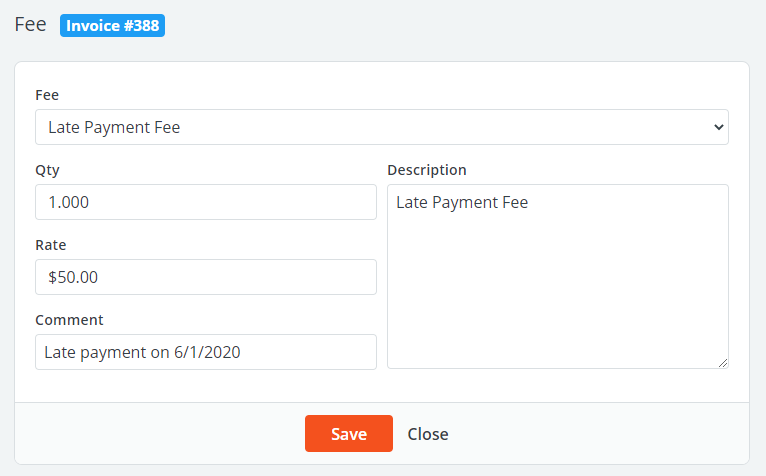
Enter a quantity, rate, description, and a comment if desired. After pressing save, the fee will appear within the Details section on the invoice and adjust the total accordingly.

Invoice fees can be modified or removed at any time by clicking Edit next to the listing.
Sending Invoices
Once you have determined that an invoice is ready to be sent to the employer, you can choose to send it electronically or simply mark it as "sent". Only invoices that have been sent/marked as "sent" can be viewed by any employer users.
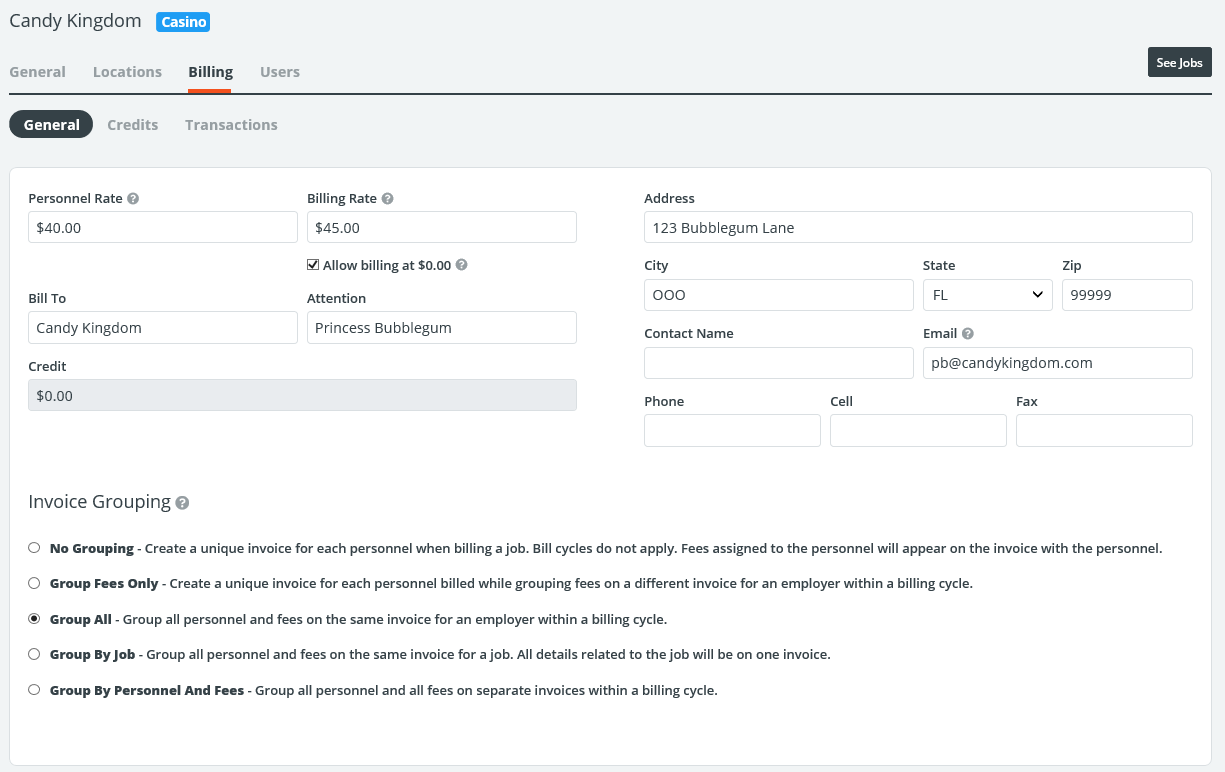
To indicate where invoices should be sent, enter the email address under the Billing tab within that employer's profile.
On the main Invoice Search page, click the envelope icon ![]() next to invoices to send them individually, or check
the boxes next to multiple invoices to send them all at once. Clicking the Send icon
next to invoices to send them individually, or check
the boxes next to multiple invoices to send them all at once. Clicking the Send icon ![]() on the
top right of the grid will allow you to choose whether to email these or simply mark them as "sent".
on the
top right of the grid will allow you to choose whether to email these or simply mark them as "sent".
This can also be done on the invoice form itself.

Clicking the print icon ![]() on the top right of the invoice form will allow you to preview the printed version of the invoice that
will be sent to employers. The invoice may be printed from this page as well by clicking the export icon
on the top right of the invoice form will allow you to preview the printed version of the invoice that
will be sent to employers. The invoice may be printed from this page as well by clicking the export icon ![]() at the top of the
page.
at the top of the
page.
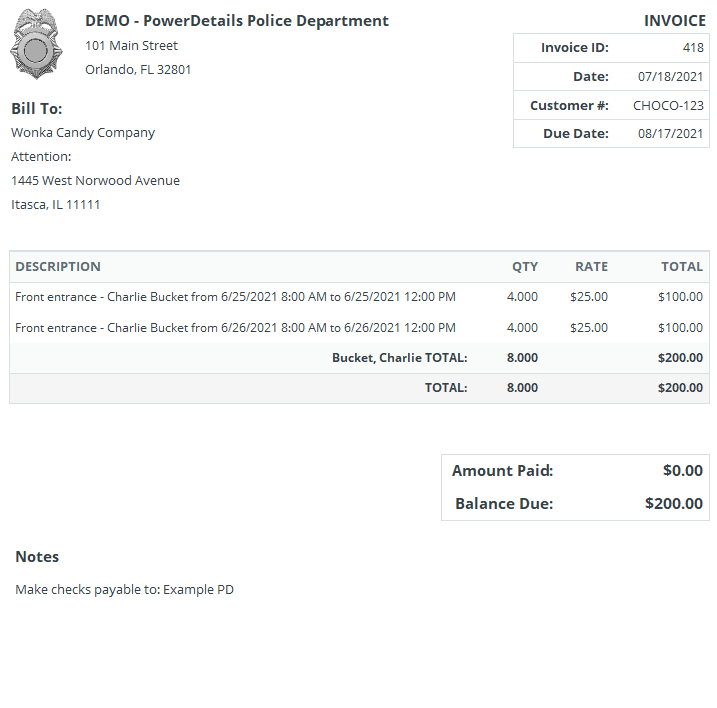
Invoice Format Grouped by Personnel
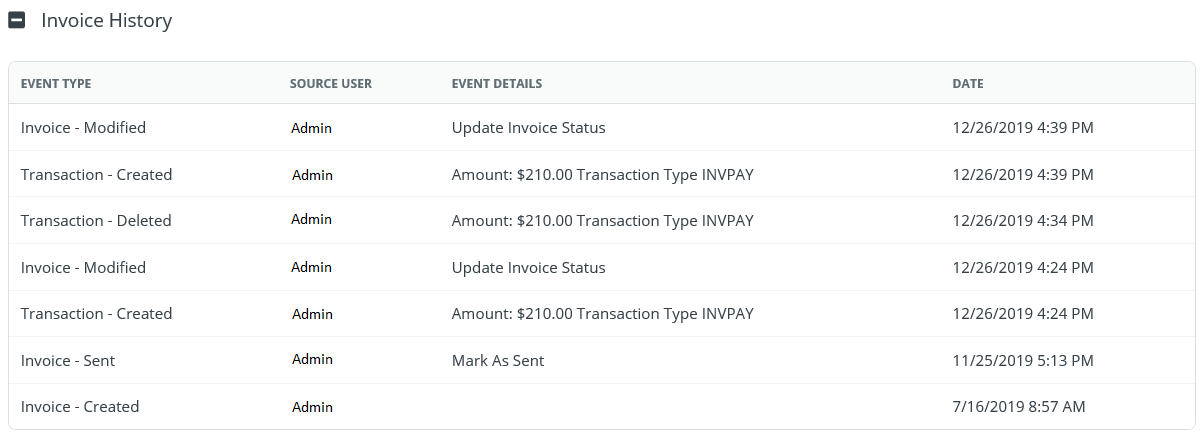
The Invoice History section at the bottom of an invoice form keeps track of when invoices have been sent or marked as "sent" and by whom.
Voiding Invoices
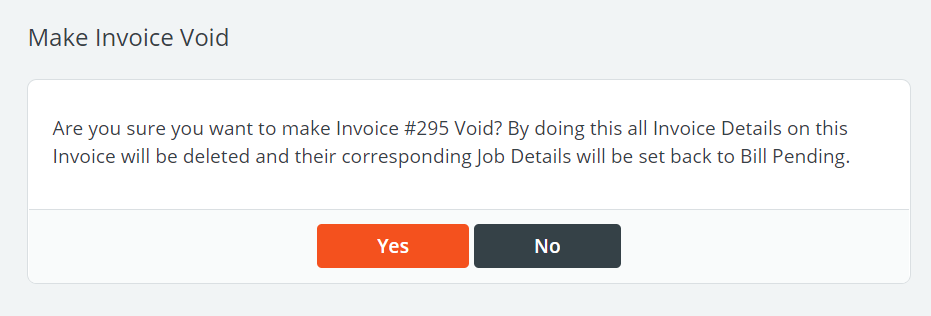
Voiding an entire invoice is only possible if there are no payments recorded and, if using the Billing Approval feature, all details have not yet been approved by an administrator.
Choosing to void an invoice will send all personnel listed on the invoice form back into the "Bill Pending" status. This may be useful if all hours need to be reported again or if you need to make changes to the jobs that were included on this invoice.
Note: Invoices are considered "Void" when all details have been removed. After this point, the invoice ID will not be used again. If you want to maintain the same invoice ID, it may be better to reject details individually, leaving at least one detail present at all times.
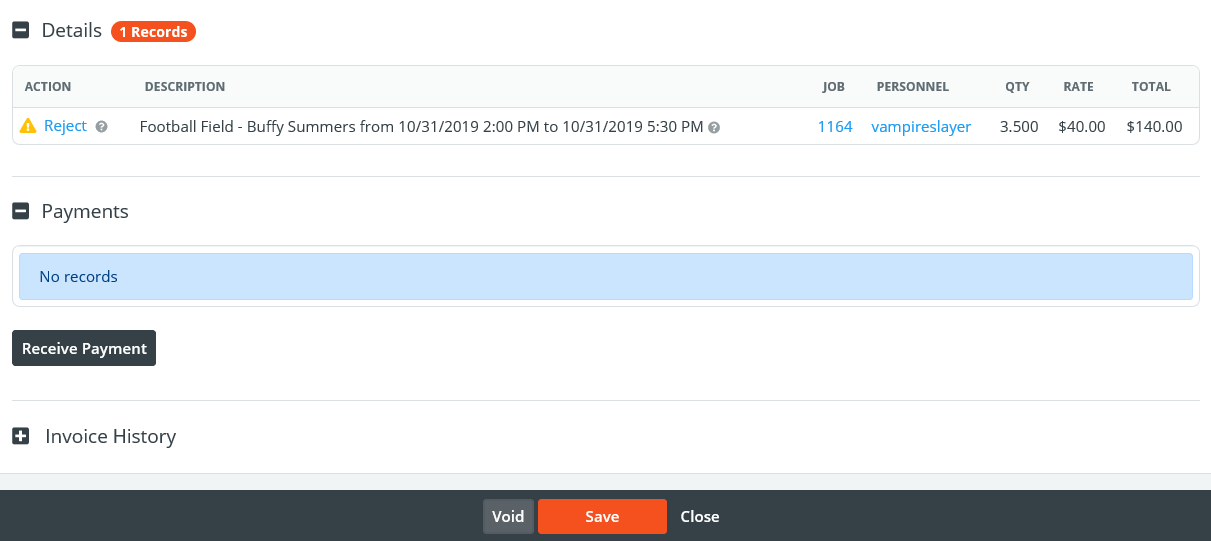
To void an entire invoice, click the Void button at the bottom of the Invoice Information page.
Internal Invoices
Internal invoices are created by using the same employer billing cycle, but will only ever contain fees that have been built as "internal fees". This means that in the fee template, the "Print on Invoice" box is unchecked. Internal invoices can be helpful to keep track of money owed to your agency from personnel such as scheduling fees, or recording reimbursable items such as mileage.
Internal invoices are denoted by the icon ![]() and can be located by checking the "Display Only Invoices with
Internal Fees" box in the search panel.
and can be located by checking the "Display Only Invoices with
Internal Fees" box in the search panel.
