Groups
Groups serve two main functions in PowerDetails:
- They make it easy to send messages to groups of people all at once. Simply type the name of the group in the To field and a message/alert will be sent to all members of your group!
- You can indicate that certain jobs are only available to certain groups of people rather than solely restricting the job based on personnel class in the "Restrict To" section on a job page (see Job security and Creating Jobs).
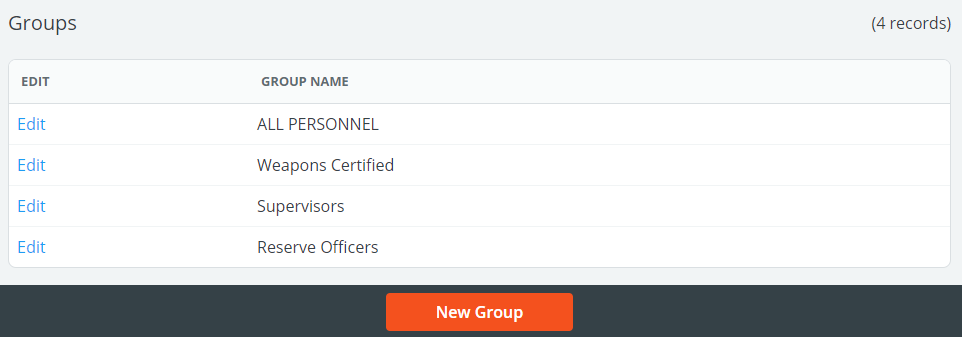
To access Groups, hover over Advanced on the top menu bar and click Group Search. This will bring you to a list of current groups on your site. "All Personnel" is a default group created with every personnel user as a member. Click Edit next to any group name to make changes.

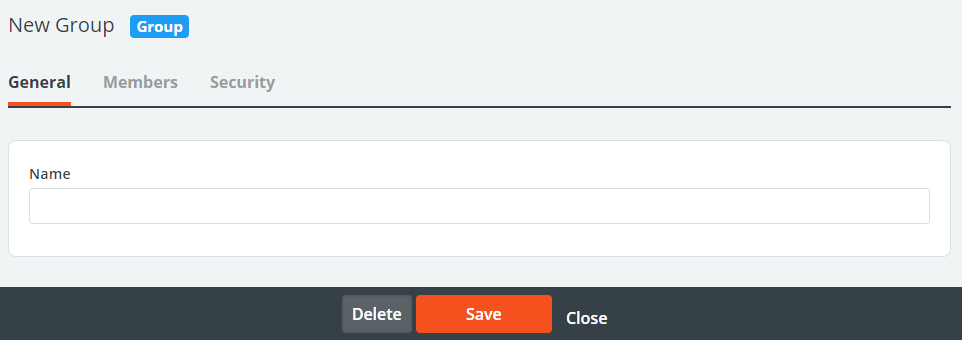
To create a new group, click the New Group button at the bottom of the page.

Type in a name for your group and click Save.
Adding/Modifying Group Members
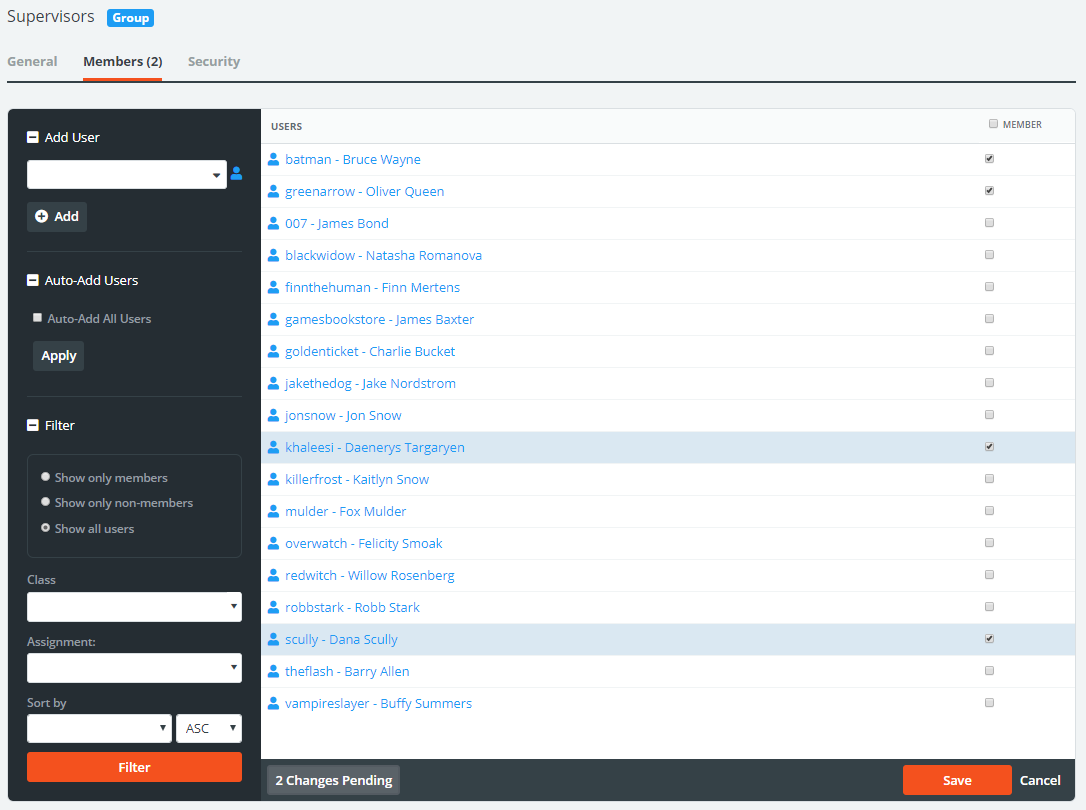
To add personnel to the group, click the Members tab.

Add users by typing their name or user ID in the Add User section and pressing the Add button, or click the blue person icon ![]() on the left panel to pull up a full list on the right. Simply check the users you would like to add or remove from the group and press save at the bottom of the page.
on the left panel to pull up a full list on the right. Simply check the users you would like to add or remove from the group and press save at the bottom of the page.
Checking the box in the Auto-Add Users section on the left will allow all newly created personnel profiles to automatically be added to this group from that point forward.
Note: ALL PERSONNEL is a default group within PowerDetails. All your future-created personnel will be assigned to this group automatically. To discontinue this, you must go into the ALL PERSONNEL group, uncheck Auto-Add All Users, and click Apply.
Additionally, personnel can be added to groups from within their personnel profile's Membership tab.

Group Security Tab
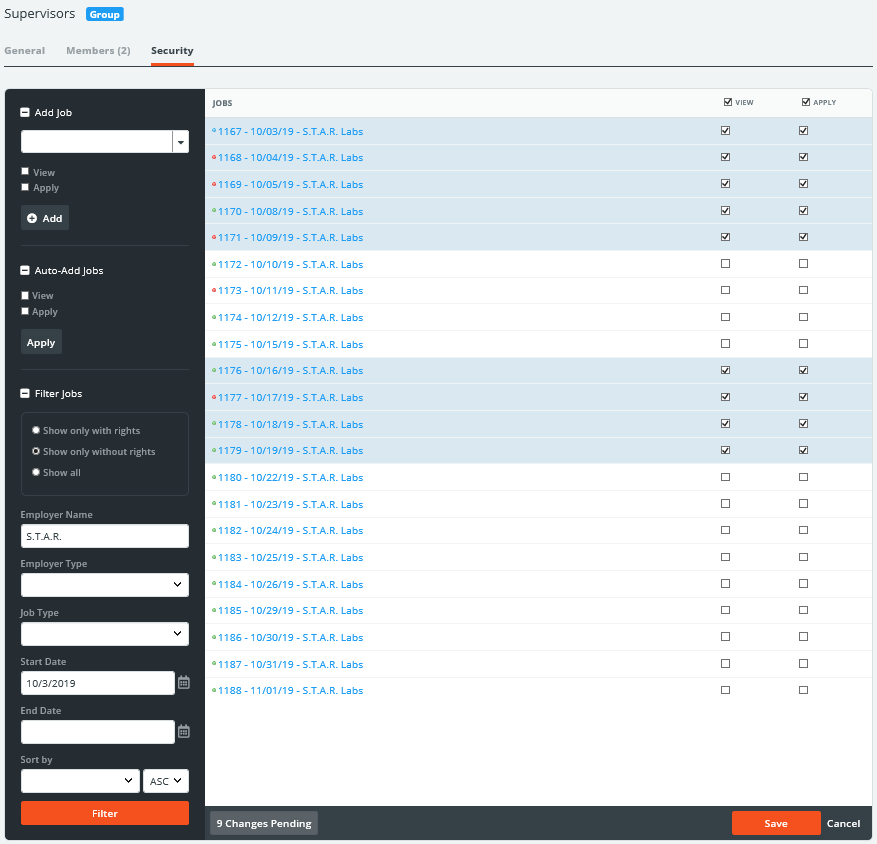
A group's Security tab allows administrators to manage personnel access to multiple jobs at once, rather than individually on a Job's Security tab. See Job Security for information on how to use this feature.

The Filter Jobs section allows you to run a search for specific jobs you would like to alter the group access for.
Similar to the Membership tab, checking the box in the Auto-Add Jobs section allows you to indicate that this group should have access to every newly created job on your site by default.