Creating Jobs
As a Personnel Administrator, you will be responsible for adding jobs/details to the calendar. To add a new job, hover over Jobs on the top menu bar and click New Job.
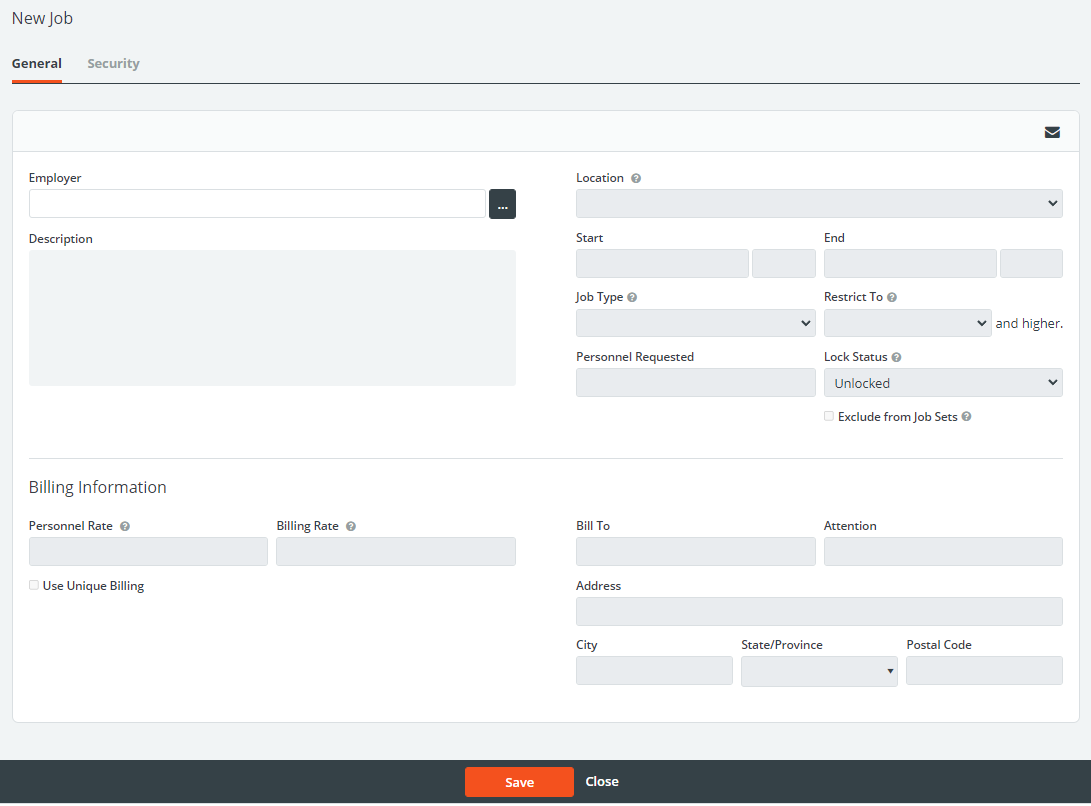
Below is an explanation of the fields on the new job page.
| Field | Description |
| Employer | Select the employer the job is for by clicking the […] button next to the Employer field and select it from your list, running a search if necessary. You can also begin typing the name and click outside the box, and the name will auto-fill. |
| Location | Drop-down menu for the specific job location. These are populated from the employer profile’s Location tab and direct the personnel to the associated address. |
| Description | Brief summary of what the job will entail. |
| Start/End | Date and time the shift begins and ends. The calendar icon may be also be used to select date. |
| Job Type | Select one of the job categories created by your administrators. |
| Restrict To | If this job is only available to users based on class/rank, select it here. Classes are ordered with 1 being considered the highest rank. Otherwise, specific access to this job can be managed in the Security tab. |
| Personnel Requested | How many people are going to work this job. |
| Lock Status | If you would like to post this job now but prevent users from applying from it until a future date/time, use this field to lock this individual job. Note that Job Sets (bidding feature that locks multiple jobs at once) may be in use by your site administrators, in which case, this may not be necessary. |
| Exclude from Job Set | When checked, users can apply before any created Job Set Bidding Day, depending on the Lock Status above. |
| Rates | Rates entered in the employer profile will automatically populate here. If left blank, the system will draw from the rate hierarchy in your site (Personnel profile rates, Personnel Class rates, or overall global rates in your settings). Check with your administrator if you are unsure of what to put here. |
Assigning Personnel
If you already know who is working this job and do not need personnel to apply for it, type their name in the Personnel section at the bottom of the job page (basic information must have been saved first). Their profile will appear for you to select and press the button to Assign Selected Personnel.

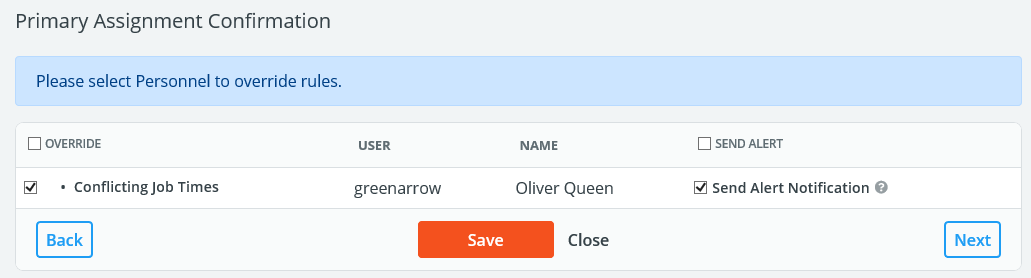
If anything would prevent this user from applying for the job themselves, this will show on the following Confirmation screen. If you have the authority to override this warning, you may do so and press Save. The Confirmation screen will also present the option to send an alert and notify the user that they have been assigned to the job.
The manually assigned user will show on the job page with an Approved status.

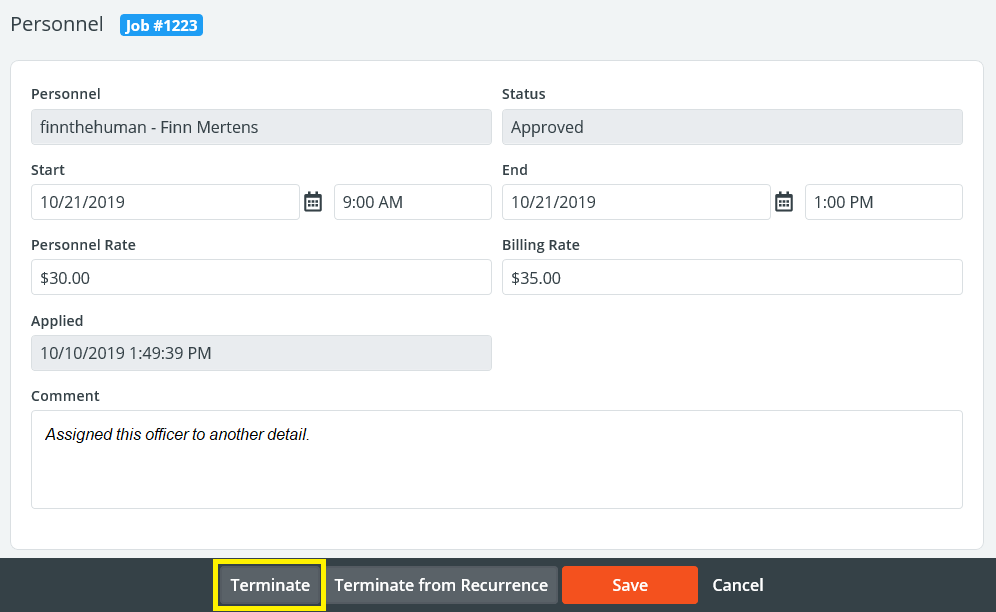
Removing Personnel from a Job (Terminating)
If you need to remove a person from working a certain job, navigate to that job page and click Edit next to their name. Enter a comment as to why you are removing the user and press Save. The user will receive an automated alert letting them know that they have been removed from the job.
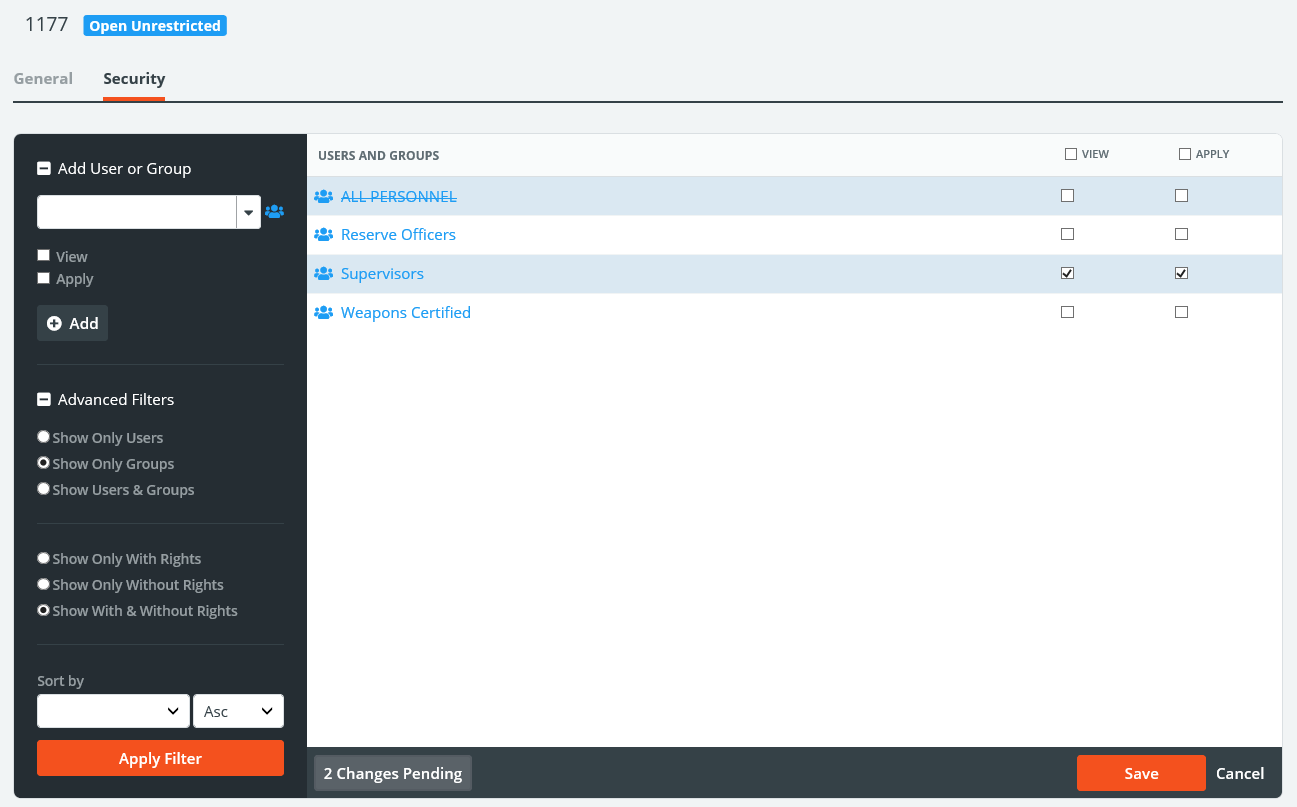
Job Security Tab
Once the basic information on a job is saved, the Security tab can be used if only specific Groups of personnel can apply. This is recommended in lieu of the Restrict To section if your restrictions are based on factors other than Personnel Class.
Click the group icon ![]() to search through your list of groups and check view/apply as applicable.
to search through your list of groups and check view/apply as applicable.
![]()